Running an Experiment
Quick Start
Assuming you have a working installation of NUPyLab and code for your station already exists, there are a few options to quickly get your code running.
From AnacondaPrompt, activate the environment with NUPyLab and run the GUI file for your station:
conda activate nupylab
cd <path/to/gui_folder>
python your_gui.py
2. Create a batch file to easily activate conda and run your python script. Then you can just double-click the file to run the station code.
example.bat
@echo OFF
rem Define the path to your conda installation
set CONDAPATH=C:\Users\<username>\miniconda3
set ENVPATH=%CONDAPATH%\envs\nupylab
call %CONDAPATH%\Scripts\activate.bat %ENVPATH%
rem Run a python script in that environment
python path\to\script.py
rem Deactivate the environment
call conda deactivate
3. With your NUPyLab environment activated, run the script directly from a code editor.
Running a GUI

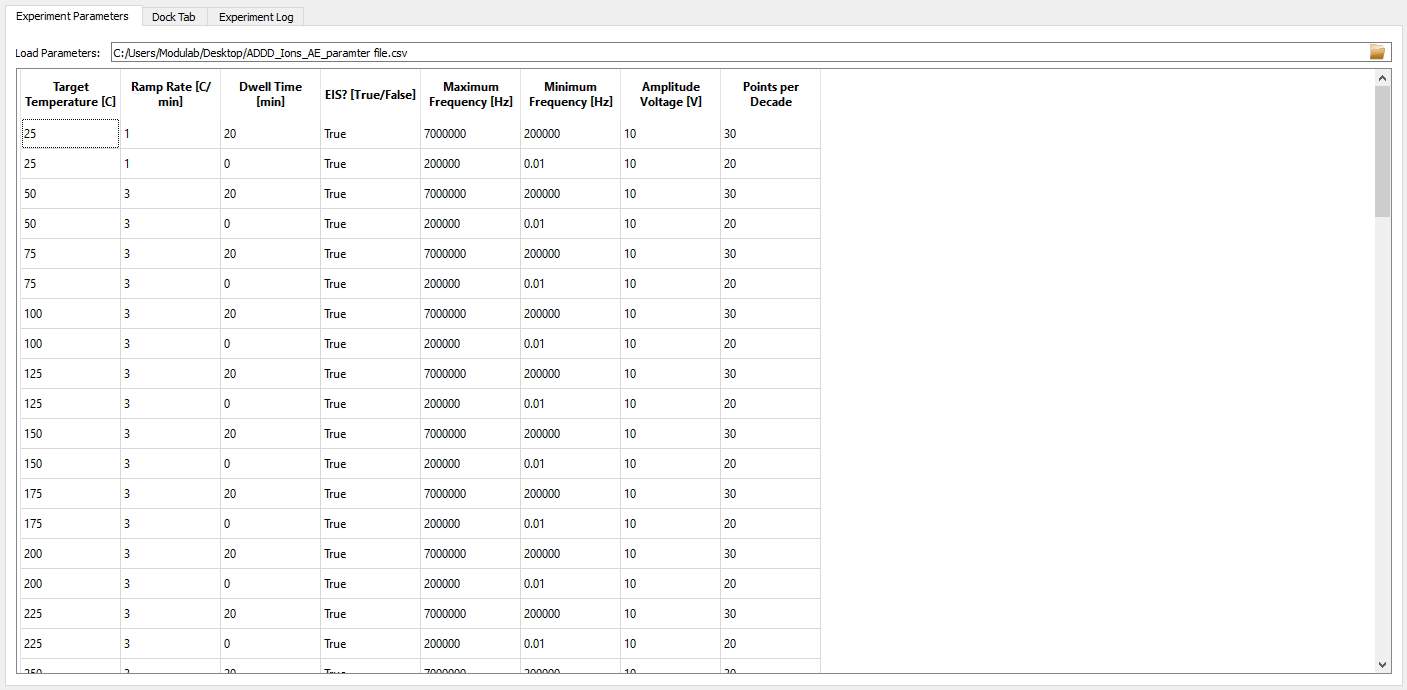
The standard NUPyLab station GUI consists of three panes:
Experiment parameters table
Docked live-plotting frames
Experiment log
Additionally, instrument connection settings are configured at the left-hand side, and a data browser is shown at the bottom. To get started running a measurement, set the appropriate instrument connection settings and enter your measurement parameters in the parameter table. Each row represents a single experiment step. Parameters can be loaded from and saved to file. Rows can also be added or deleted directly from the GUI.
Once all parameters have been entered, press Queue to start the
experiment. All steps will be loaded in and run sequentially. Experiment
progress can be monitored from live plotting frames and the experiment log. The
experiment will stop and run each instrument’s shutdown method upon finishing
all steps, if an error occurs, or if the Abort button is pressed.